
|

|


 |
Featured Quote: "Despite the gardener's best intentions, Nature will improvise." |
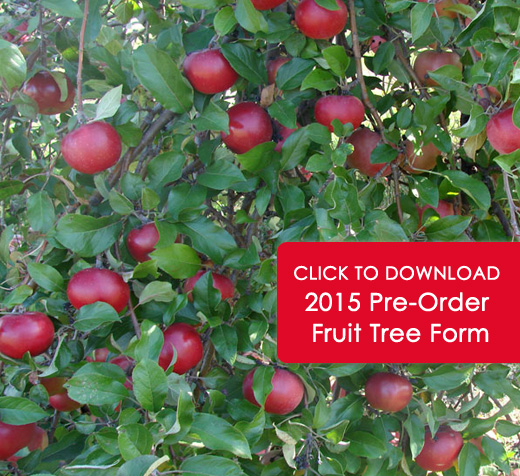
| SOFT order program ends November 5, 2014 Pre-Order Fruit Trees for the 2015 season.  Pre-Order Roses for the 2015 season. |
Now is the time for
Prohibit Pre Emergent Weed Preventer & Lawn Food 26-4-6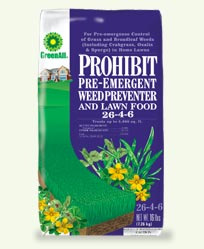 To prevent Annual Blue Grass (Poa Annua) in your lawn, we recommend a pre-emergent herbicide like Prohibit. To prevent Annual Blue Grass (Poa Annua) in your lawn, we recommend a pre-emergent herbicide like Prohibit. A pre-emergent herbicide that provides residual control of many broad leaf weeds, grass and crabgrass in turf grass. New to homeowners, but widely used in the landscape and golf course industry. Prevents weeds and feeds the lawn all in one step. |

|


|
Looking for something a little out-of-the-ordinary to plant in your fall garden? Why not give Swiss chard a try? Swiss chard makes a healthful addition to the cool-season garden; it contains no fat, is low in calories and cholesterol and is a good source for vitamins A and C as well as calcium and iron. It is easy to grow as long as its basic requirements are met: full sun (or at least 6 hours of sun per day), and a fertile, well-drained soil. Both leaves and stems are edible and can be eaten either cooked or raw. A 10-foot row will typically yield between 8 and 12 pounds of chard. White stemmed varieties generally out-perform their more colorful relatives (red, pink, yellow or orange-ribbed varieties), but for a little diversity plant both types. Soil Preparation
Planting
Watering
Weeding
Insects and Diseases
Harvesting and Storage
Swiss chard can be substituted for spinach in any recipe, and the crisp ribs of the plant can be grilled for a unique side dish. When the weather warms up in the spring, the plant will "bolt" (produce flowers). This is your cue that it's time to remove your chard plants and replace them with a warm-season vegetable of your choice. |

|
Next to spring, fall can be the best time for some colorful action in the rose garden. While most modern hybrids do bloom through the summer, the bloom size tends to decrease substantially as a result of the high summer temperatures. As fall approaches, roses once again "come into their own," sporting some of the largest blooms seen since the previous spring. Take some time to enjoy this display, because all too soon, they will be entering their winter period of dormancy. Here are some fall tasks to help ensure your roses will remain healthy and ready to take off again next spring:
|

|
Popular years ago, indoor plants are making a huge comeback. Their lush, green foliage can truly perk up a dreary interior environment and can be a beautiful addition to any home or office. Not only are they attractive to look at, but indoor plants also convert the carbon oxide that we breathe out into oxygen, thereby refreshing our indoor surroundings. Most indoor plants are hybrids that grow wild somewhere in the world. The key to successfully growing plants indoors is to replicate the environment they naturally grow in. The main factors are location, lighting, water, humidity, and feeding. A few minutes of care each week help your plants flourish, providing years of enjoyment. Bright windowsills are a perfect location for a number of indoor plants to thrive and help chase the winter blues away. (Just make sure to move them in the summer if the area receives direct afternoon sun.) Rotate each container after a few days so that all parts of your plants get an even amount of sunlight. As a rule of thumb, keep the soil moist but not soaking wet. Ensure that the pot has good drainage for excess water. Too much water locked in the pot rots the roots. Most indoor environments are dry and have little humidity. So, use a mister to spray water on the leaves on very dry days. You can also place your pots on containers full of pebbles. Pour water in the container often. This will hydrate your plants from the bottom. Even though indoor plants tend to grow much more slowly than they would outdoors in their natural environments, they still require an infusion of nutrients throughout the year. We recommend using a balanced plant food (use as directed). Indoor plants add color and can dramatically cheer up a home or office, especially during the dog days of winter. We invite you to visit us and pick up a few of these gems today! |
 |
|
Should I use bone meal or bulb food when I plant my bulbs? Answer: There are a couple of reasons for this. Nitrogen can burn the actual bulb, which only needs the phosphorus and potash from bone meal in order to stimulate rooting. But once the bulb is sending out a stem, it needs nitrogen to become strong so it won't bend over from the weight of the flowers that it sets. This is especially important for bulbs with large heavy flowers, such as tulips, ranunculus, and hyacinth. It's also important to dig the holes or trenches a little deeper than the bulb needs to be, applying some bone meal below the bulb, then a little more soil so the bulb doesn't sit directly on the food but has access to the food as it sends out roots (got to give those roots some incentive to stretch). |

|
This is super easy, delicious--and will make even a novice cook look like a gourmet chef! What You'll Need:
Step by Step:
|

 click here for a printer friendly version of this page
 |
Written content © 2004-2014 Garden Partners LLC, or respective authors. All Rights Reserved. Privacy Policy. All written content contained in this site is protected by United States copyright law and may not be reproduced, distributed, transmitted, displayed, published, or broadcast without prior written permission of Garden Partners, LLC. You may not alter or remove any trademark, copyright or other notice from copies of the content. Would you like a newsletter like this for your nursery or garden center? Please feel free to look at what we have to offer and contact us for your garden center marketing solutions. |